Clarify Finished Widths After Field Measurement
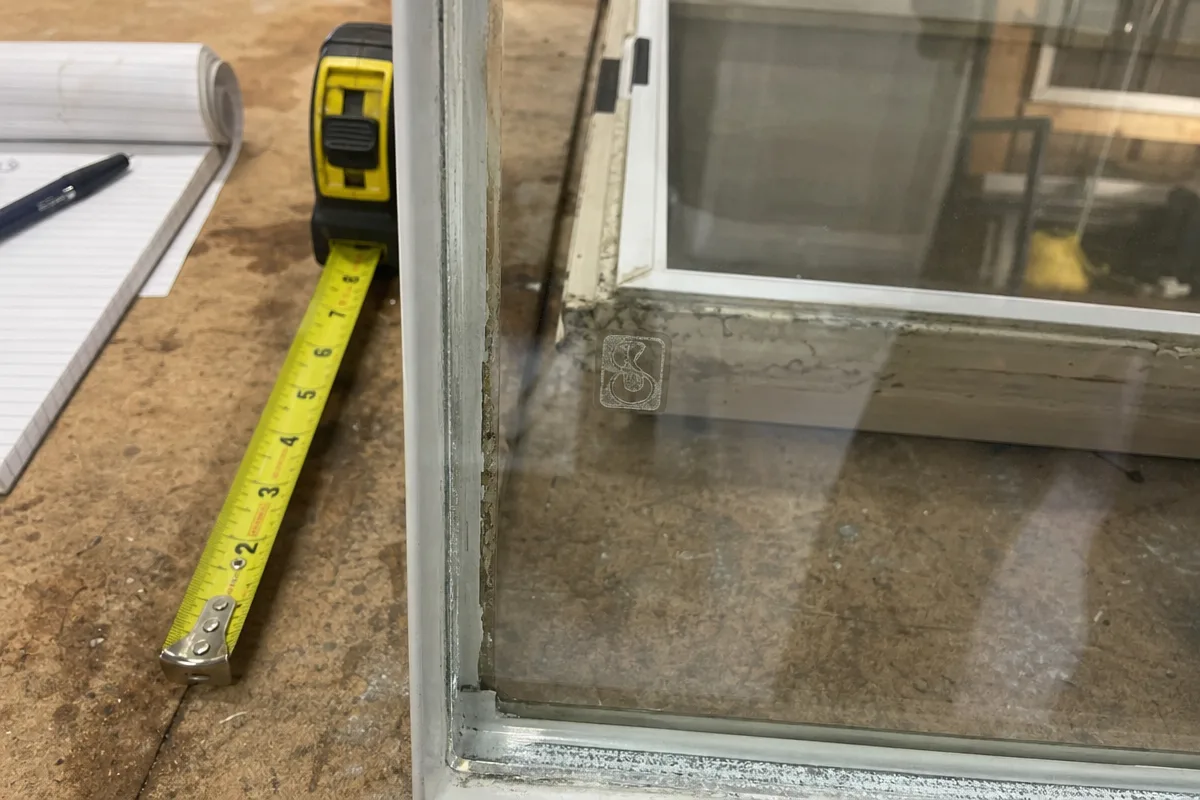
When revising a takeoff after field measuring, it's crucial to label each glass width with precise fractional-inch endings. For example, three units might measure 23 3/8", 23 7/16", and 23 1/2". Document these exact visible dimensions clearly on your shop drawing or specification sheet to avoid confusion during fabrication. Andersen's guidelines emphasize confirming supplier-specific fabrication sizes separately, as visible glass size differs from finished cut sizes.
Accurate notation ensures the fabricator understands each unique width, preventing costly errors in production or installation. Use a consistent fraction format and double-check with field notes before finalizing the purchase order.
Detail Each Unit’s Specifications in the Purchase Order
Include all relevant architectural glass details in the purchase order: ply thickness, edge treatment, coating surfaces, and orientation. According to the National Glass Association, coating surfaces should be numbered from the exterior inward, which affects fabrication and installation.
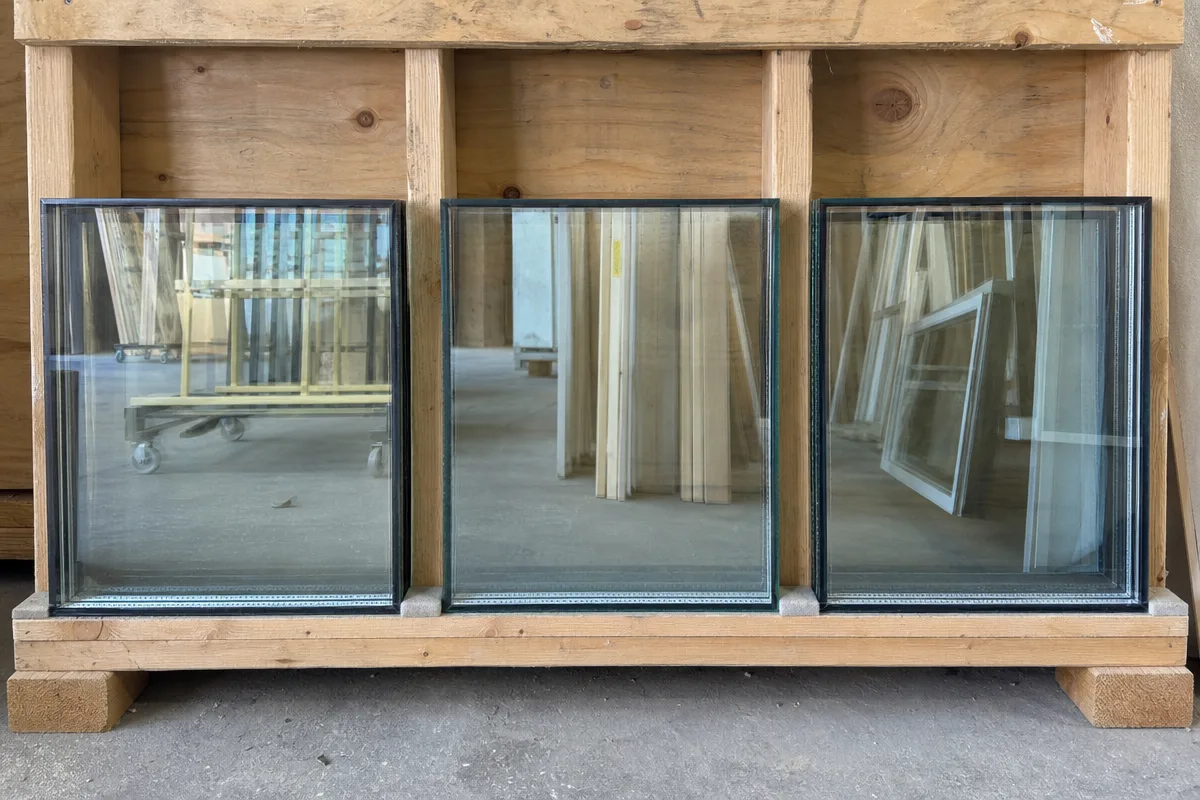
For the three widths, specify each unit’s build-up if different, such as varying spacer thickness or gas fills. This ensures that even with close fractional differences, each unit is produced exactly as required. Incorporate these details in your order to GlassQuote to streamline processing and reduce back-and-forth clarifications.
Checklist for Receiving and Verification
Upon delivery, verify each glass panel’s width against the fractional-inch measurements noted in the purchase order. Use a calibrated tape measure or digital caliper to confirm the 23 3/8", 23 7/16", and 23 1/2" widths match exactly.
Mark each panel on the protective film with the corresponding width fraction to maintain clarity for installation crews. This step ensures that the glass is installed in the correct opening, preserving the integrity of the finished project and avoiding rework.
Sources
Prepared with AI assistance using the references above.