Identifying the Exposed Edge in Multi-Panel Interior Glass
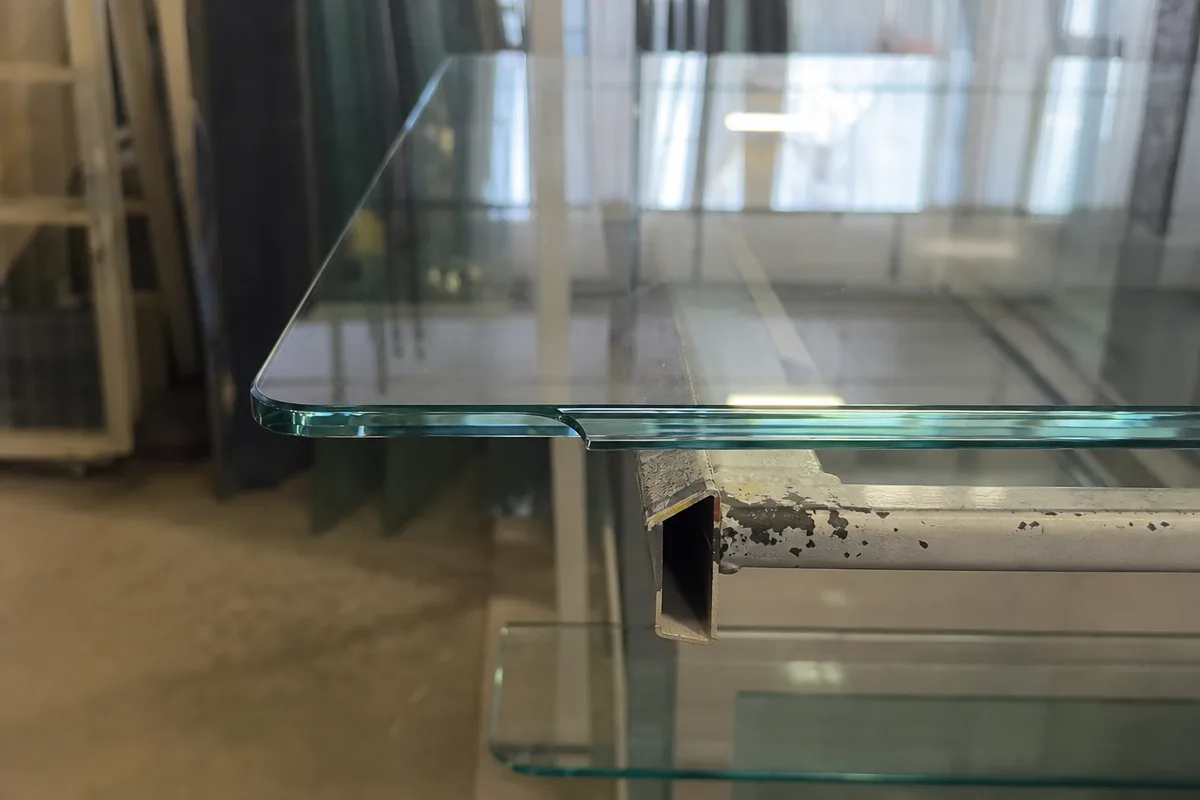
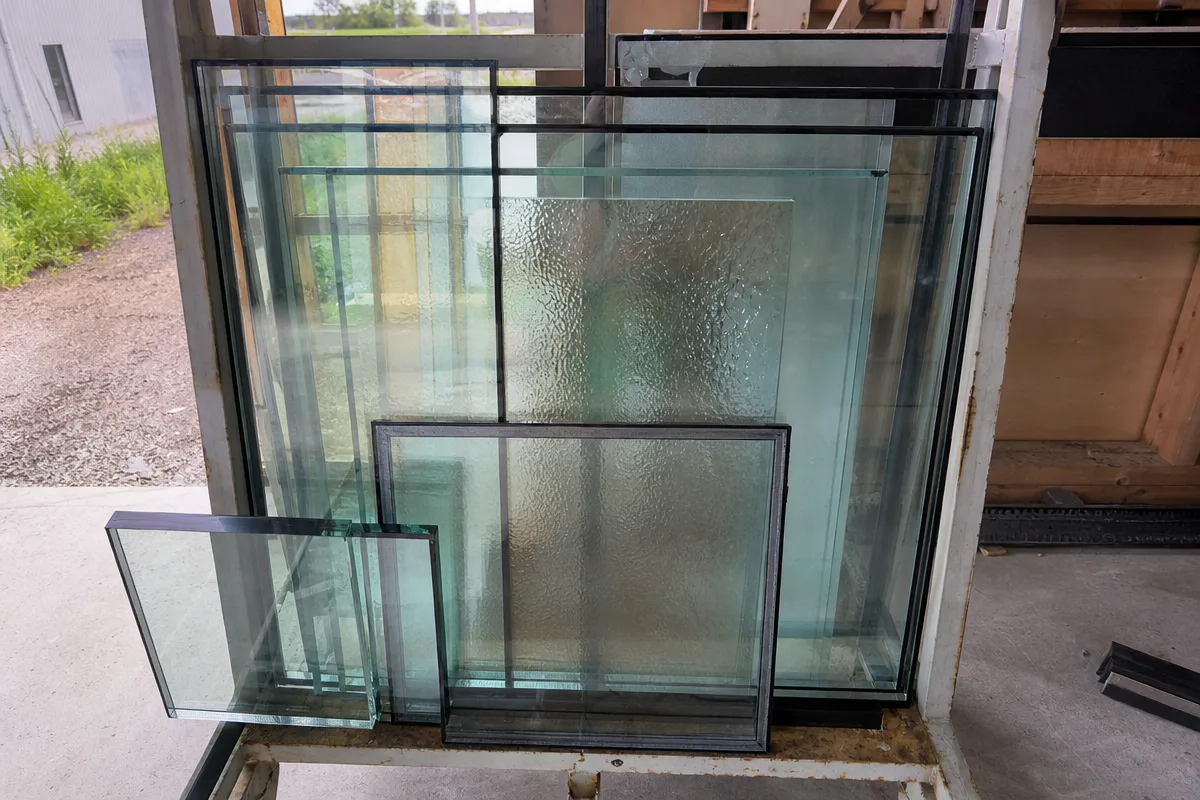
In a small multi-room renovation, specifying the exposed edge of each glass panel is crucial for accurate shop drawings and purchase orders. The exposed edge is the visible edge after installation, often requiring specific edge treatment such as polished, seamed, or chamfered finishes. Documenting this clearly prevents fabrication errors and ensures the finished product meets aesthetic and safety expectations. For multi-panel assemblies, each panel’s exposed edge must be distinctly named and referenced in the takeoff to avoid confusion during fabrication and installation.
Integrating Edge Treatment into Shop Drawings and Specifications
When preparing shop drawings, include detailed notes on each panel’s exposed edge treatment alongside dimensions and ply thickness. According to the National Glass Association, edge treatments should be documented with the overall build and orientation to maintain clarity. For example, a panel might be specified as “Panel A: 10 mm clear tempered, exposed edge polished, interior face towards room.” This level of detail helps fabricators align edge finishing with heat treatment schedules, as edge work is typically done prior to tempering, per Vitro Architectural Glass guidelines.
Ordering and Receiving Checklist for Exposed Edges
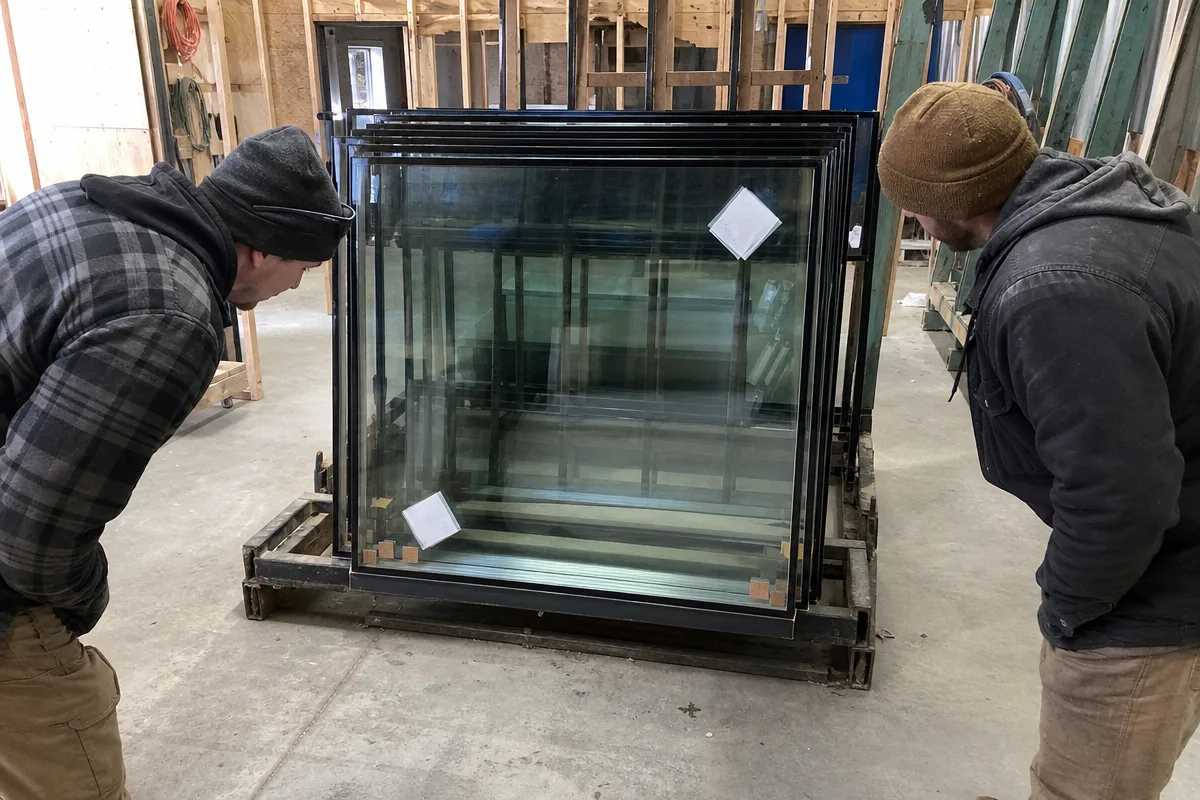
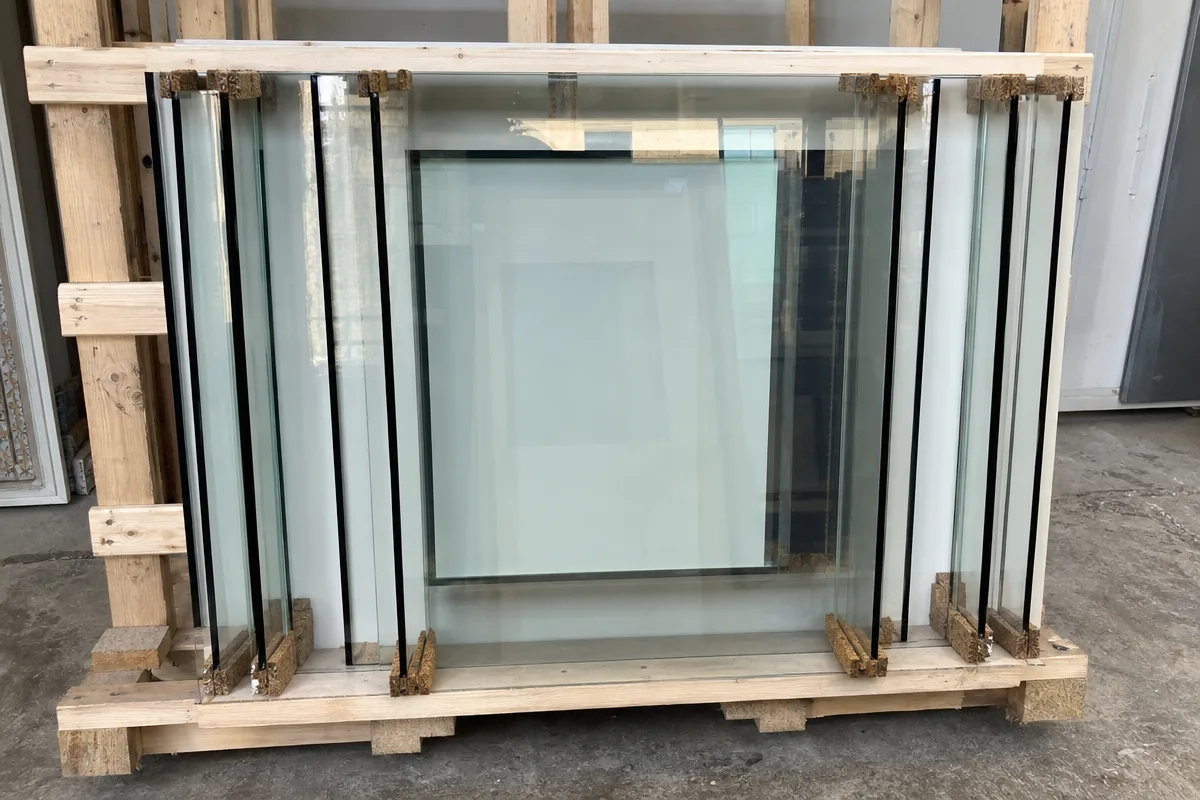
Before issuing the purchase order, confirm that the exposed edge naming matches the shop drawings and includes exact edge finish descriptions. Upon receiving the glass, verify that each panel’s edge treatment corresponds to the order and drawings. Use a checklist that includes panel ID, thickness, edge finish, and orientation to cross-check deliveries. This practice minimizes errors and supports efficient installation, especially in multi-panel interior glazing where edge visibility affects both function and design.
Sources
Prepared with AI assistance using the references above.